CSS Editor
The CSS Editor allows you to enter custom CSS code to control and customize the appearance of your campaign.
Getting there
- Open a campaign in the Campaign Builder.
- Open the Style Panel.
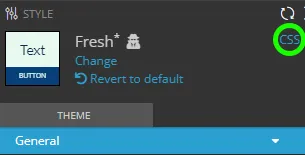
- Click CSS in the upper-right corner of the Style Panel.
About the CSS Editor
The CSS Editor includes a text area where you can type or paste your CSS code. It also provides tools to help streamline the process:
Buttons in the CSS Editor
Undo/Redo: Reverse or reapply recent changes.
Choose Image: Opens the Media Selector.
- Select an existing image or upload a new one.
- After selecting an image, click Select to close the Media Selector, and its URL will automatically be inserted into the CSS Editor.
Validate: Uses the W3 CSS Validator to check your CSS for syntax errors.
- This is useful for catching missing elements, like unclosed curly braces.
Note: The validator does not check for semantic issues (e.g., choosing the wrong color).
Save: Save your CSS changes to apply them to the campaign.
Campaign preview
As you type custom CSS in the editor, the campaign preview in the Builder updates in real-time, allowing you to see your changes immediately. This is particularly useful for adjustments like absolute positioning.
Important: Styling changes made using the CSS Editor will override any changes made in the Style Panel.
Related resources
Was this helpful?
Thanks — that helps us decide what to fix next.
Sorry this missed. Tell us what you needed and we'll get you an answer — and fix the page.